
How to Make Goldenrod Lake Pigment
How to Make Goldenrod Lake Pigment: Preserve That Brilliant Yellow

Why Make Goldenrod Lake Pigment?
Goldenrod produces a stunning, vibrant yellow dye, but there’s a catch: this brilliant color only comes from the fresh plant. Once goldenrod dries, it yields muddier, less vibrant colors. By transforming fresh goldenrod into a lake pigment, you can capture that gorgeous yellow and use it for dyeing year-round, long after goldenrod season has ended.
Lake pigments are stable, dry powders that can be stored indefinitely and later reconstituted for dyeing, or used to make watercolors, oil paints, pastels, and other artist materials.
What You’ll Need
Ingredients
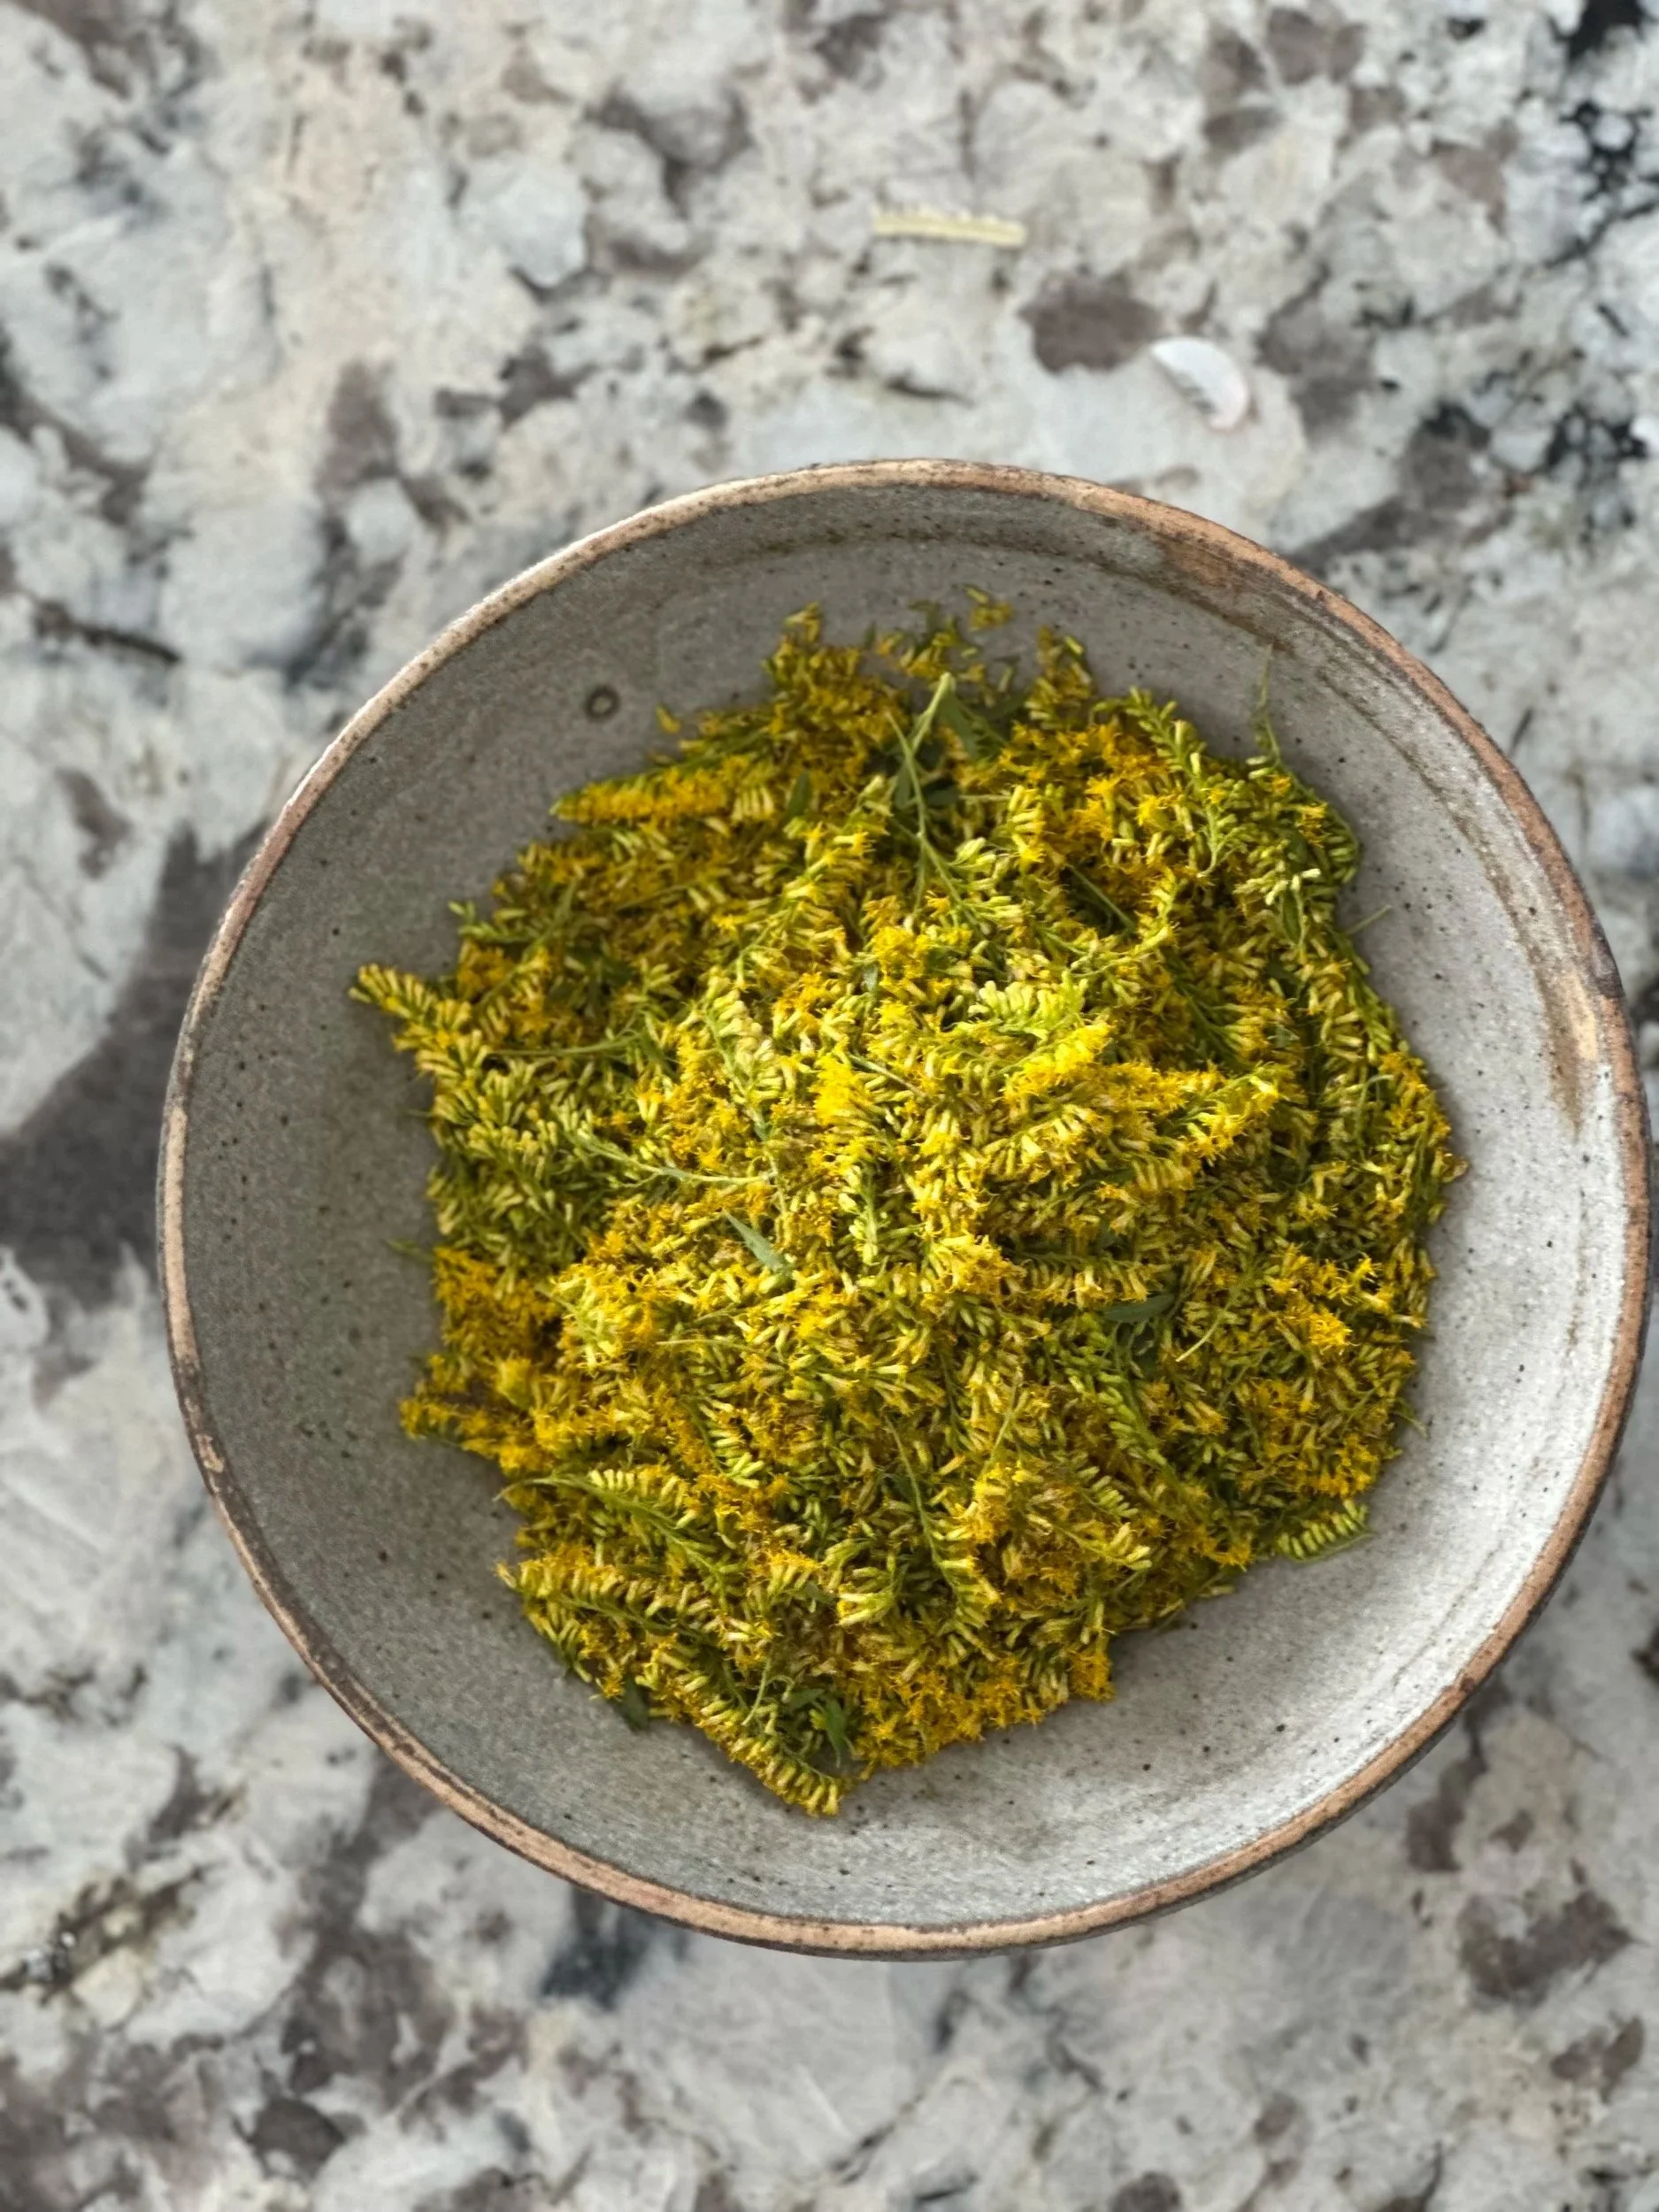
Fresh goldenrod flowers and tops
Aluminum sulfate (alum) - 60% the weight of your plant material
Sodium carbonate (soda ash) - 50% the weight of your alum
Distilled water
Tools
- Large pot for extracting dye
- Coffee filters (several)
- Sieve or funnel
- Clear jar or bucket (at least 1 quart capacity)
- Digital scale
- Thermometer
- Stirring spoon
- Additional jars for rinsing
The Process
Step 1: Extract the Dye
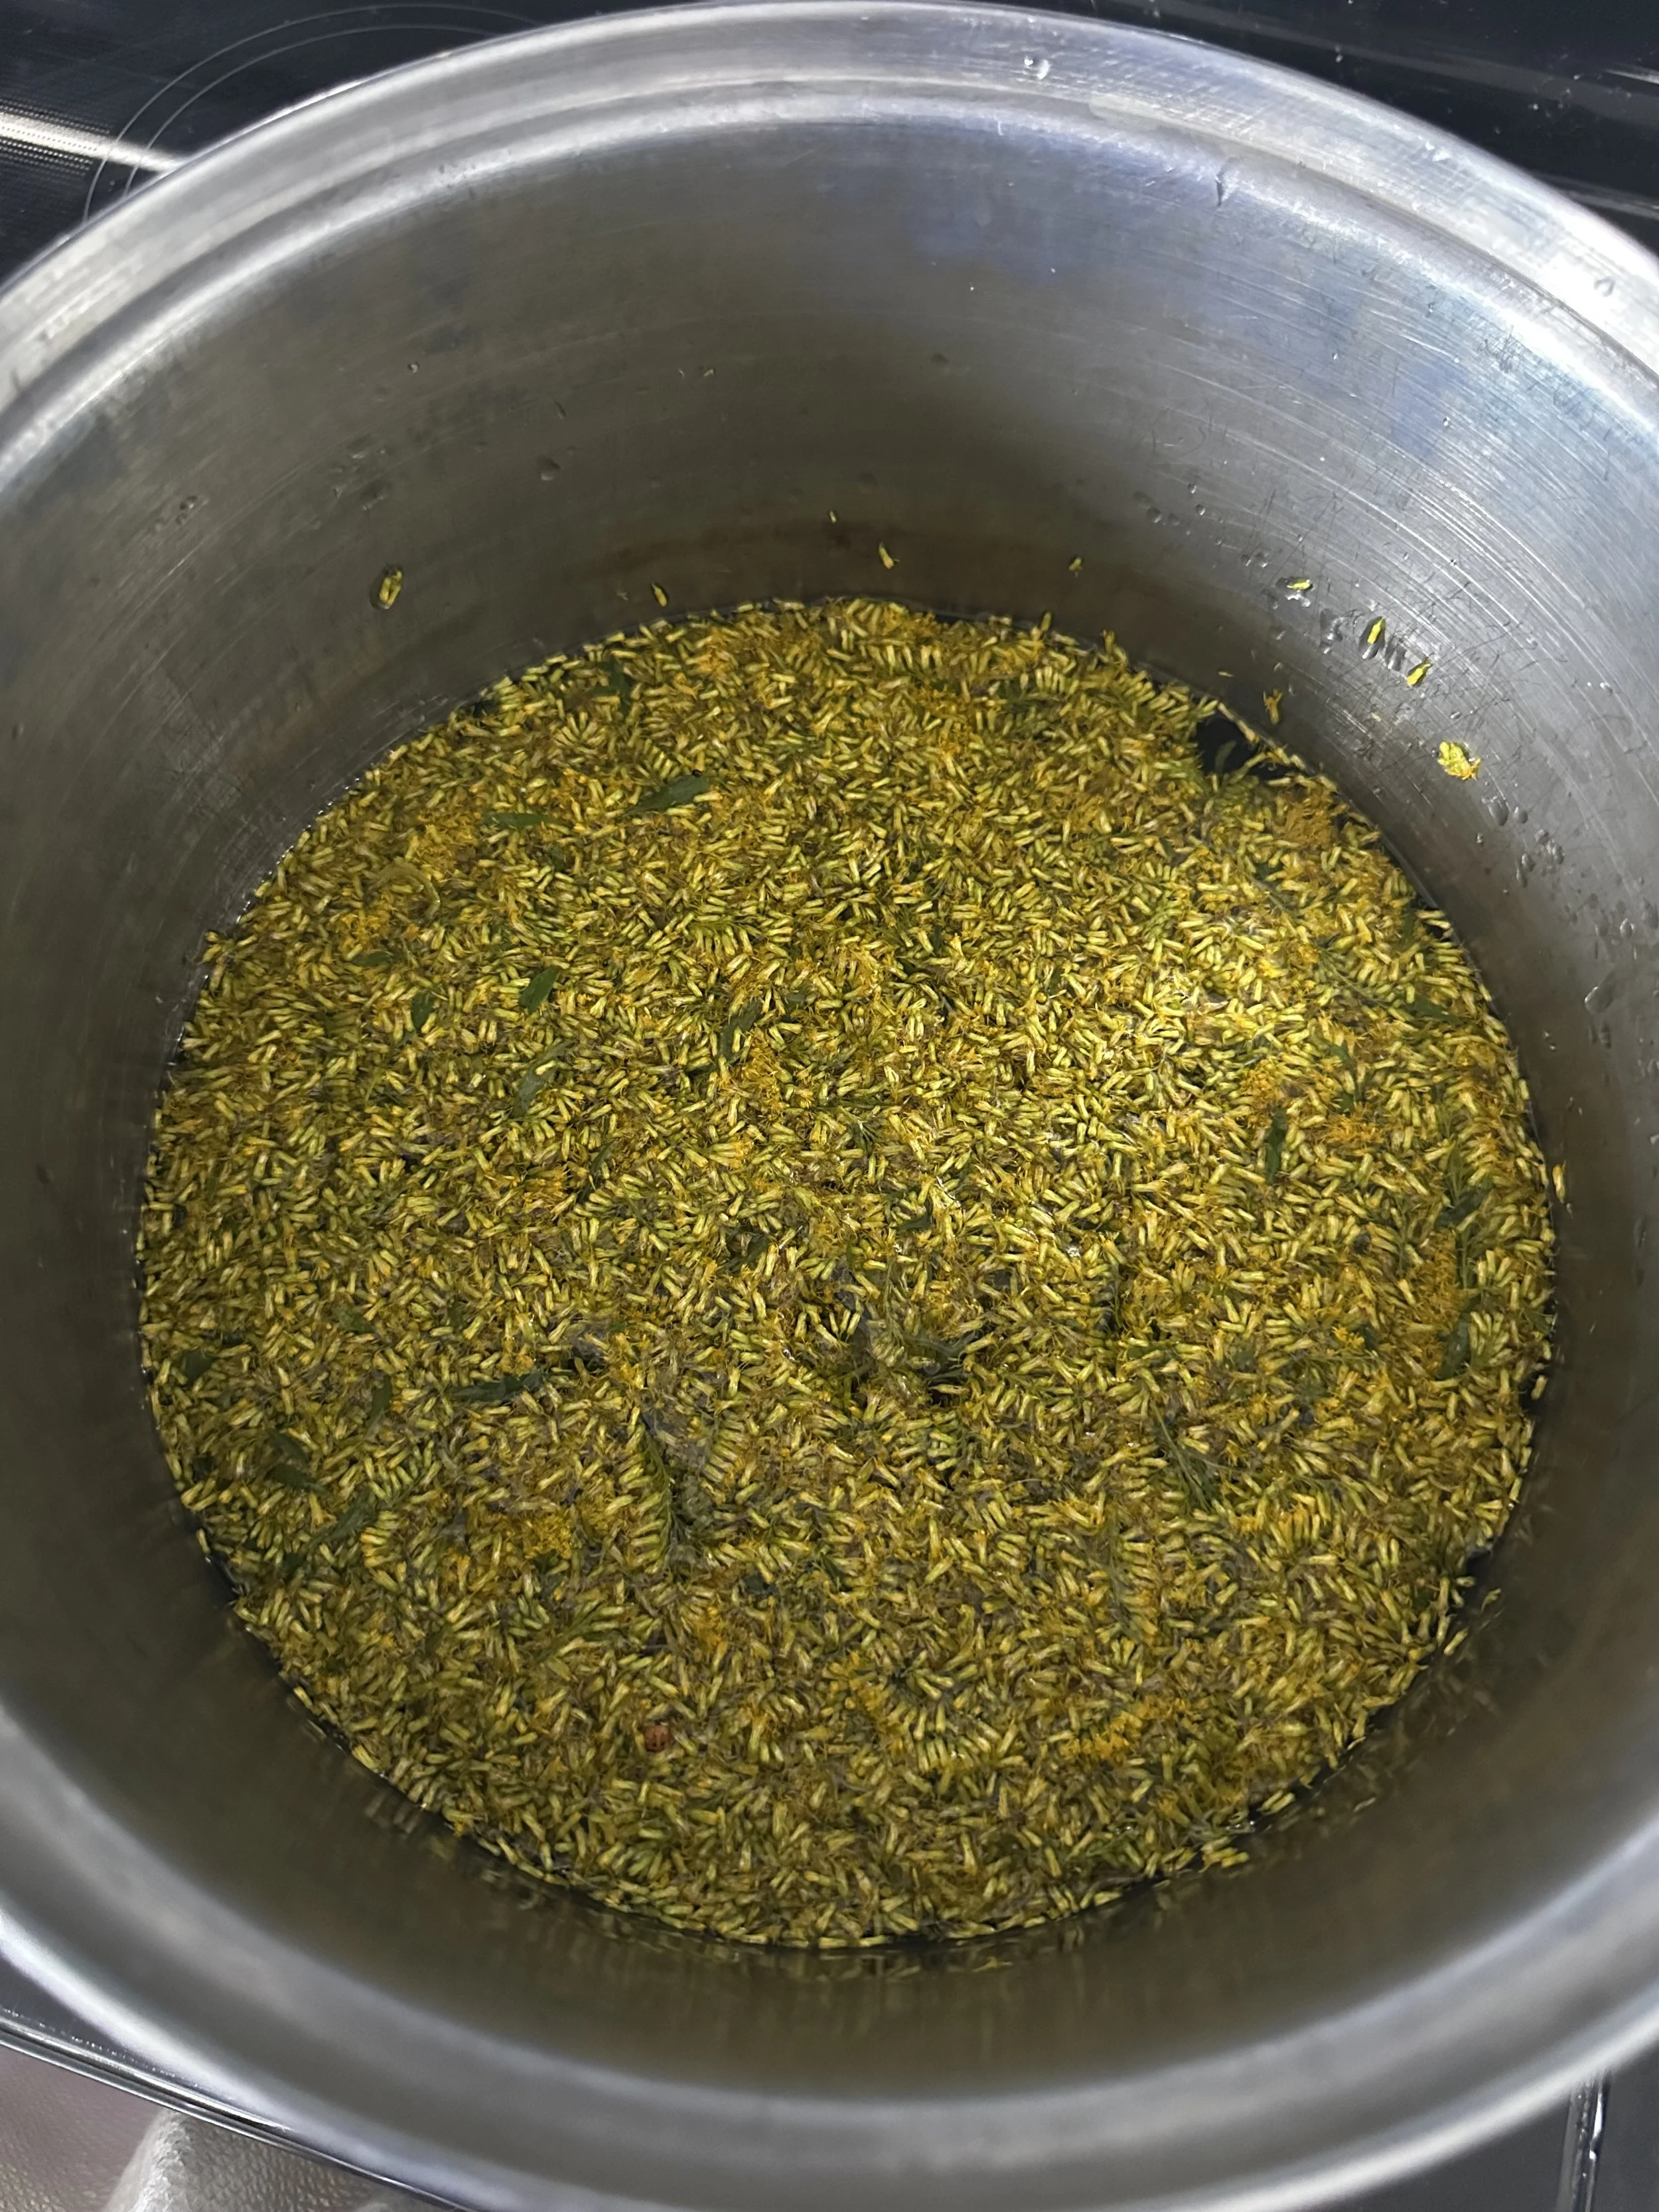
Harvest fresh goldenrod flowers and tops. Chop them roughly and place in a pot with enough water to cover the plant material generously.
Heat the water to a simmer (not a rolling boil) and maintain for 45-60 minutes to extract the color. The water should turn a rich golden yellow.
Step 2: Strain and Filter the Dye

Use a mesh strainer over a pot or large jar for an initial straining to remove the plant materials from your liquid. You can then pour your liquid through a coffee filter to remove all of the plant material.
Save the filtered plant material for a second extraction if desired, or compost it.
Step 3: Reheat and Prepare Your Container
Reheat the filtered dye liquid to 110-175°F (43-80°C). Pour it into a clear jar, pot or bucket that’s at least twice the volume of your liquid (this gives room for the fizzing reaction in step 6).
Step 4: Add the Alum
Weigh out your aluminum sulfate and add it to the hot dye liquid and stir well until completely dissolved. The mixture should remain clear and golden.
Step 5: Prepare the Soda Ash Solution
In a separate container, measure out your soda ash. Dissolve it thoroughly in hot distilled water, stirring well until no granules remain.
Step 6: The Magic Happens—Add the Soda Ash
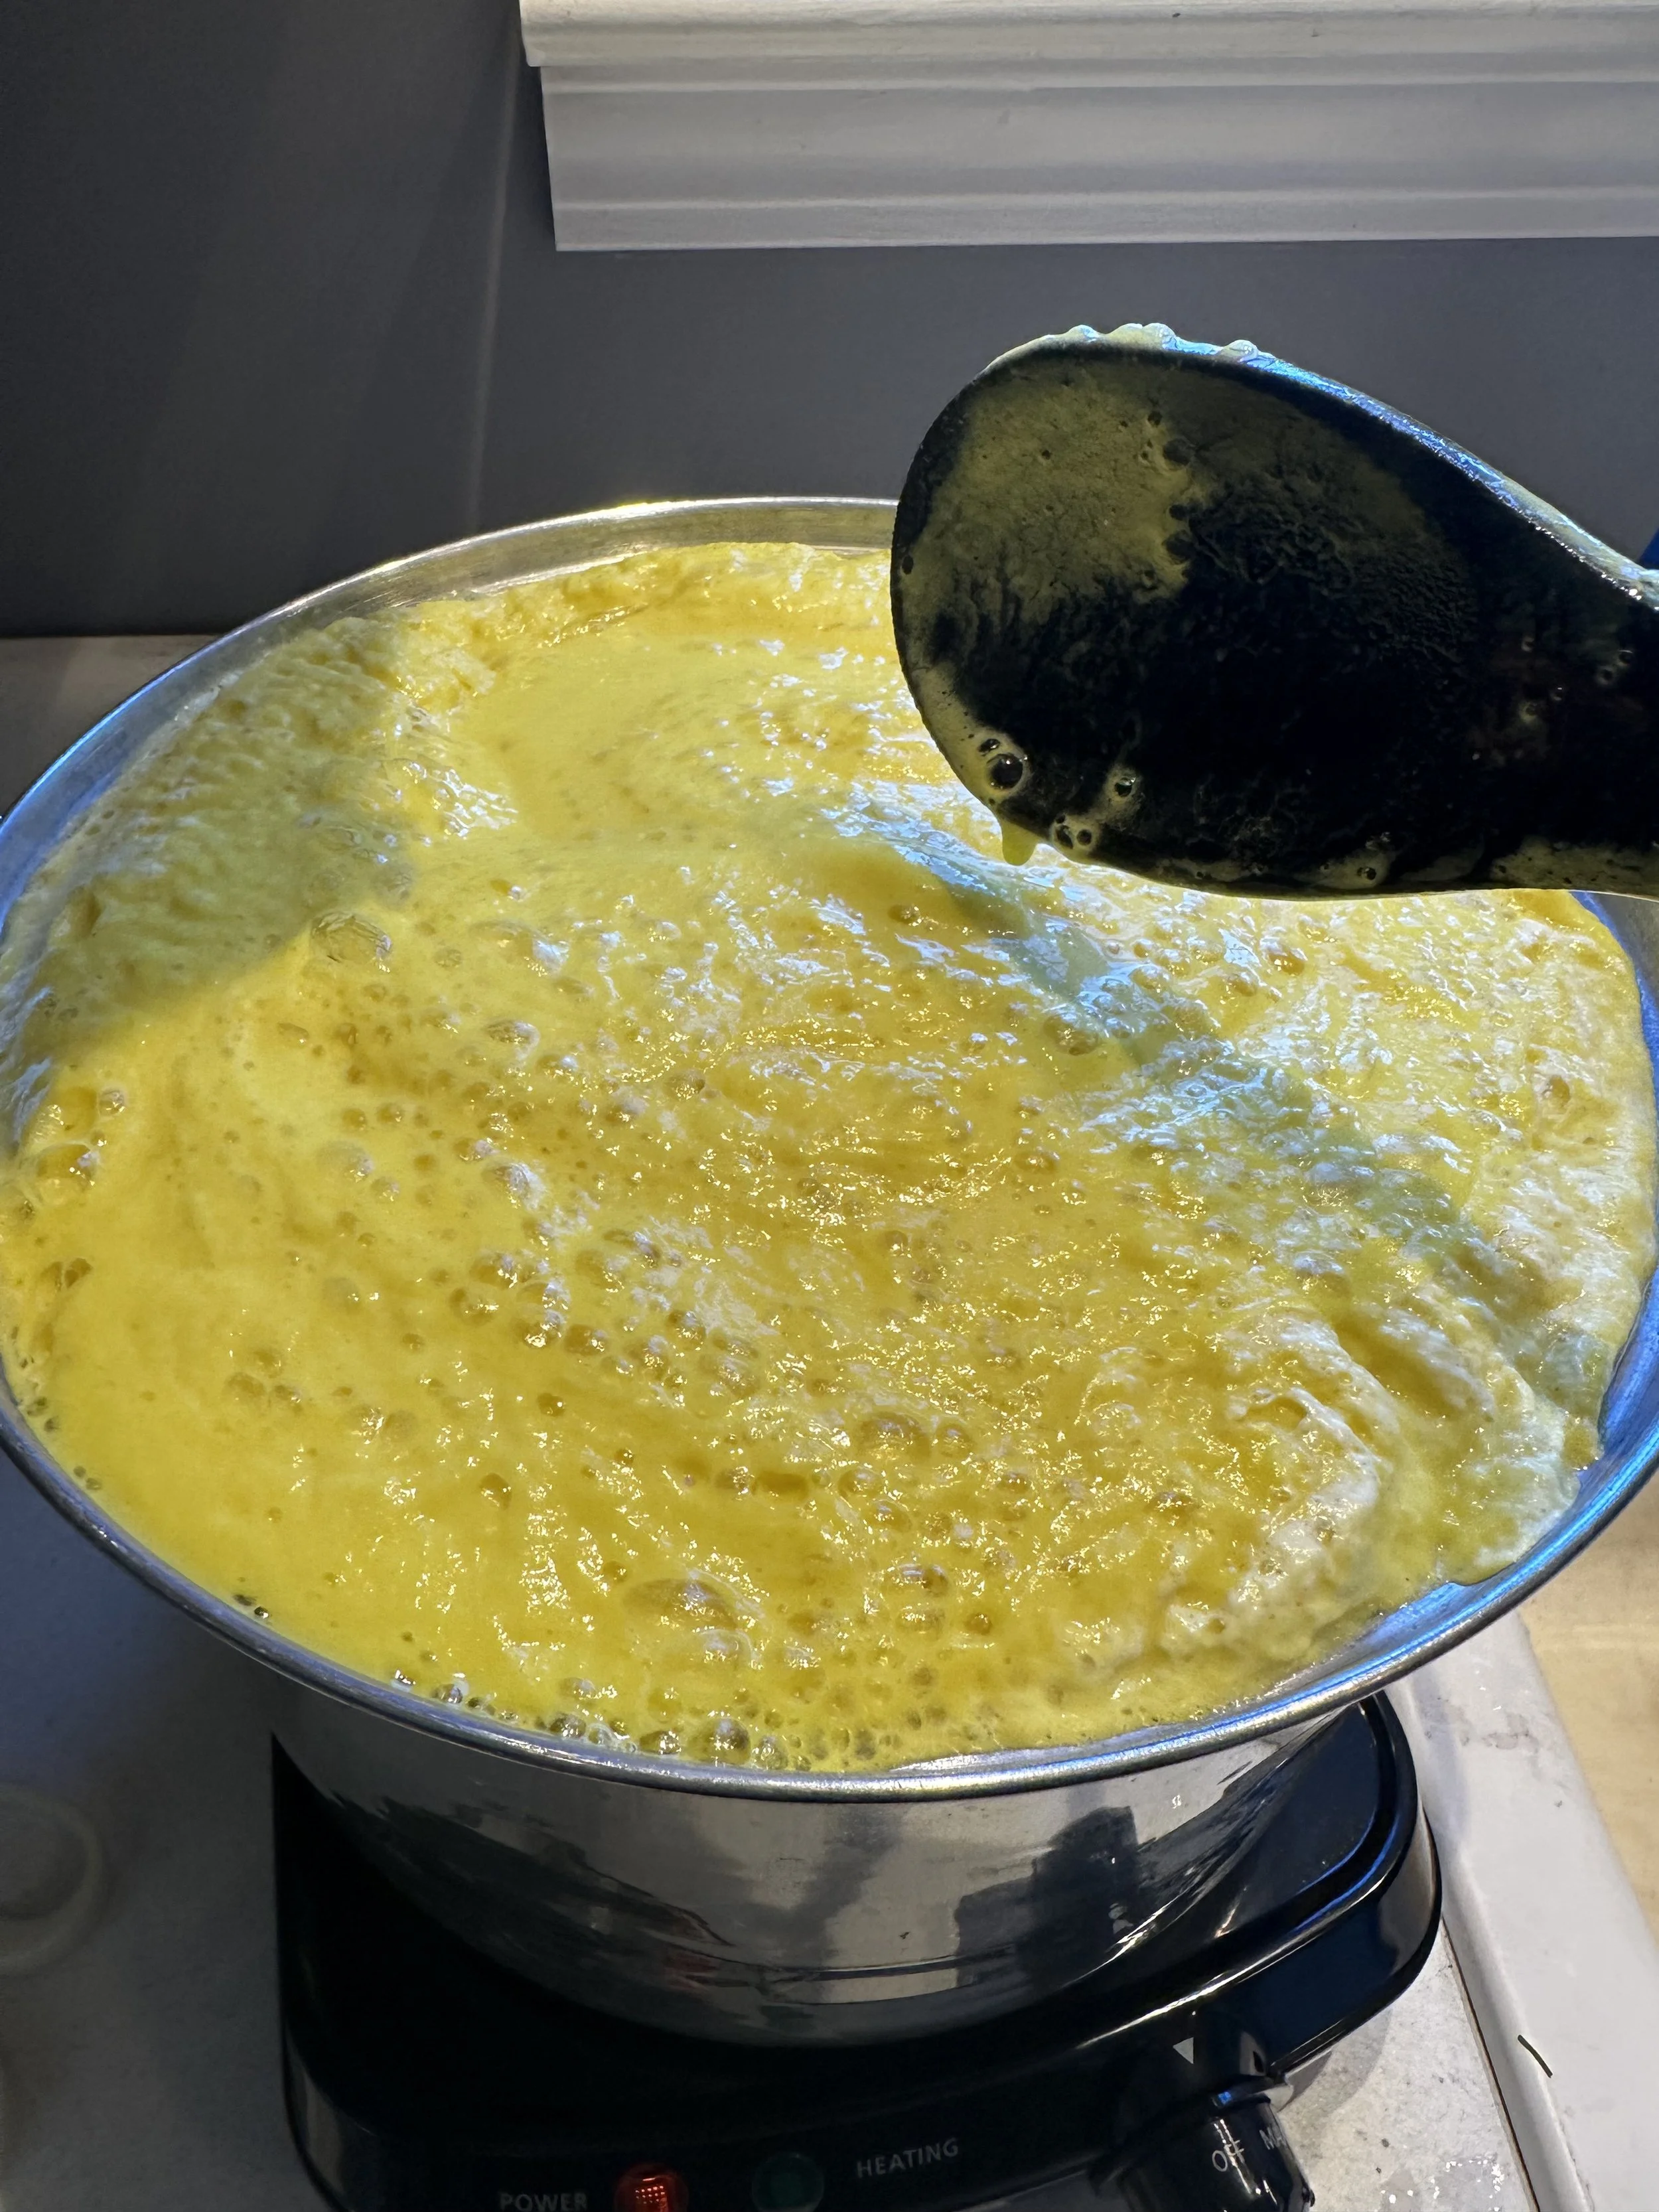
Gradually pour the soda ash solution into your alum-dye mixture. Watch the reaction! It will bubble and fizz as the acidic alum and basic soda ash neutralize each other, releasing carbon dioxide. This is the moment when your lake pigment forms.
The clear yellow liquid will suddenly become opaque and cloudy as tiny particles of pigment precipitate out of solution.
Step 7: Let It Settle (Optional)
If you have time, let the mixture sit overnight. You’ll see the pigment settle to the bottom as a layer of bright yellow sediment, with clearer liquid above. However, you don’t need to wait—you can proceed directly to filtering.
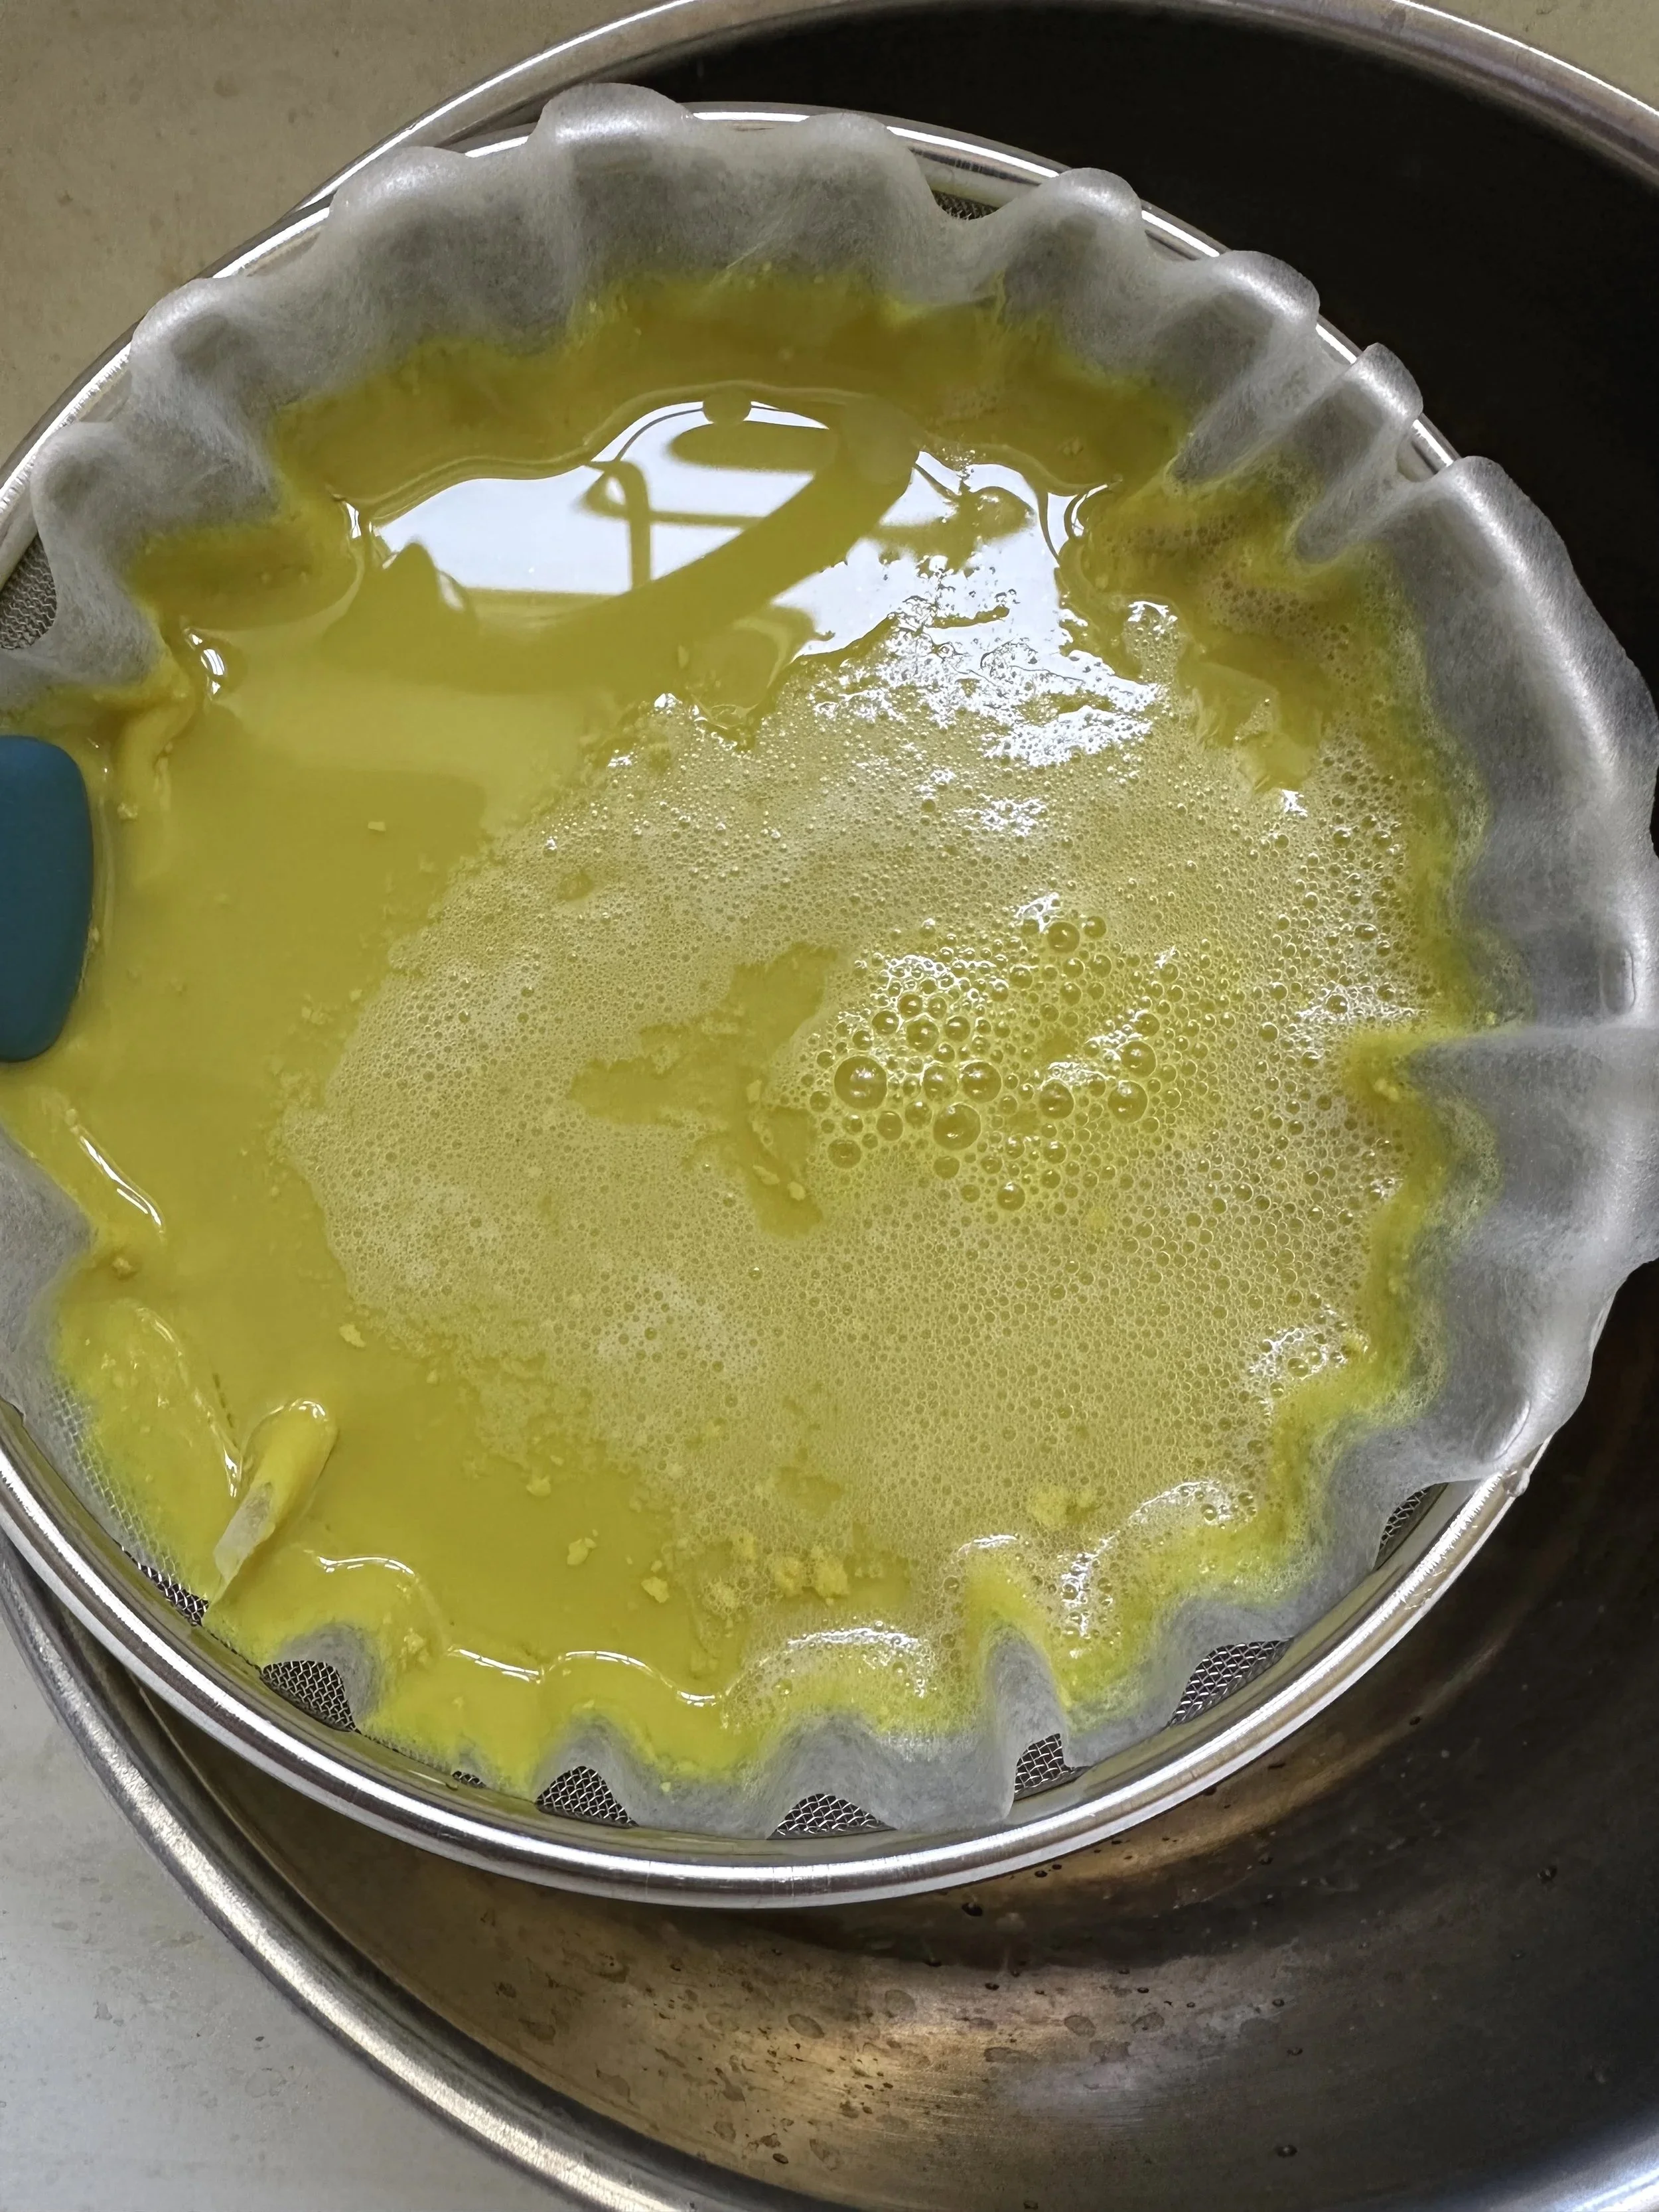
Step 8: Filter to Collect Your Pigment
Set up a fresh coffee filter in a funnel or sieve over a collection jar/pot. Pour the cloudy mixture through. The liquid will slowly pass through while the pigment collects in the filter. This can take up to 24 hours depending on the amount of material, I ended up getting two separate straining filters going because I had a big batch.
Tip: If the filtered liquid is still strongly yellow, you can repeat the entire laking process (steps 4-8) to capture even more color.
Step 9: First Rinse with Distilled Water
The wet pigment needs to be washed to remove any botanical residue (which could cause spoilage) and mineral salts (which can crystallize).
Fill a jar with distilled water equal to about 4x the volume of your pigment paste. Toss the entire coffee filter with the wet pigment into the water. After a few minutes, the pigment will release from the filter and you can remove and discard the paper.
Stir gently to break up any clumps. Let it rest for 5-10 minutes so the pigment settles.
Step 10: Filter Again
Pour the pigment-water mixture through a fresh coffee filter. Yes, more waiting! But this purification step is important for a stable, long-lasting pigment.
Step 11: Second Rinse
Repeat steps 9 and 10 one more time for a total of two distilled water rinses. This ensures your pigment is pure and will store well.
Step 12: Dry Your Pigment
After the final filtering, spread your coffee filter with the wet pigment out flat in a clean, dust-free location away from direct sunlight. Let it air dry completely for several days. The pigment should feel totally dry and powdery.


Step 13: Harvest and Store
Once fully dry, carefully scrape the pigment powder from the paper using a spoon or knife.
Store your goldenrod lake pigment in a lidded container (a small glass jar works well) away from direct sunlight. Your pigment will keep indefinitely!

Using Your Goldenrod Lake Pigment
For Dyeing

Reconstitute the pigment in warm water and use as you would a dye bath. You may need to add a small amount of alkali (like soda ash) to help the color release, and use your preferred mordanting process for the fiber.
Goldenrod creates a yummy, buttery color. You can use a post dye bath of iron to create a beautiful olive color.
For Artist Materials
Watercolor: Mix with gum arabic binder and a small amount of honey
Oil paint: Grind with linseed oil
Pastels or crayons: Mix with chalk and a binder
Safety Note: Always wear a dust mask when handling or grinding dry pigment powders.
Tips for Success
Use fresh goldenrod: The vibrant yellow is only present in fresh plants, so make your lake pigment during peak goldenrod season
Be patient with filtering: This is the slowest part, but rushing it results in murky pigment
Use distilled water for rinsing: Tap water contains minerals that can contaminate your pigment
Label your containers: Note the plant source and date
Experiment with timing: Goldenrod harvested at different stages of bloom may give slightly different yellows
Why This Works
Lake pigments form when dye molecules bond with a metallic mordant (in this case, aluminum from the alum) to create an insoluble colored compound. The soda ash raises the pH, which causes this aluminum-dye complex to precipitate out of solution as a solid pigment. The result is a stable, archival colorant that captures the essence of your fresh goldenrod’s brilliant yellow for use whenever inspiration strikes!
Time Investment: About 30 minutes of active work, plus 3-5 days total for filtering and drying
Yield: The amount of pigment varies by plant material, but expect 5-10g of dry pigment from 80g fresh goldenrod
Shelf Life: Indefinite when stored properly in a sealed container away from light