
Preparing Cellulose Fabric for Natural Dyeing: A Complete Guide
Preparing Cellulose Fabric for Natural Dyeing: A Complete Guide

Natural dyes create beautiful, earthy colors on fabric, but proper preparation is essential for achieving vibrant, long-lasting results. Cellulose fibers, including cotton, linen and hemp, require a specific three-step process to accept natural dyes effectively. Let’s walk through each stage of preparing your fabric for dyeing.
What You’ll Need
Before you begin, gather these materials:
- Cellulose fabric (cotton, linen, hemp)
- Soda ash or washing soda
- pH-neutral soap or Synthrapol
- Tannin (such as gallnut powder, tara powder, or myrobalan, I am a fan of tannins from Maiwa)
- Alum (aluminum sulfate)
- Large stainless steel or enamel pot ( this pot needs to be used only for this purpose and not used for cooking- I keep my pots separate)
- Wooden spoon or stirrer ( like the pots, you want separate spoons for fabric prep and dyeing)
- Scale for measuring
- Thermometer
- Gloves
Step 1: Scouring the Fabric
Scouring is the critical first step that removes oils, waxes, sizing, and any finishes from your fabric. These substances create barriers that prevent dyes from bonding properly with the fibers.
The Process:
Start by weighing your dry fabric, this weight determines how much scouring agent and mordant you’ll need later. You will see WOF which means “weight of fabric.” In general for every 100 grams of fabric, you’ll need approximately 2-3 grams of soda ash and a small amount of pH-neutral soap. I personally use 2% WOF of soda ash and 1% WOF of pH-neutral soap or Synthrapol. So if I begin with 100g WOF, then 100x.02 = 2g of soda ash and 100x.01=1g of Synthrapol.
Fill your pot with enough water for the fabric to move freely. Add the soda ash and soap, then heat the water to around 180-200°F (82-93°C). Add your fabric and simmer gently for 1-2 hours, stirring occasionally to ensure even scouring. The fabric should have plenty of room to circulate in the water. Turn off the heat and allow it to cool.
Once it has cooled, rinse the fabric thoroughly in warm water until the water runs clear and no soap residue remains. You can also run your fabric through the rinse cycle of your washing machine. You can scour fabric in your washing machine using hot water and soda ash, though hand-scouring gives you more control over the process.
Step 2: Applying Tannin
Cellulose fibers have a natural affinity for tannins, and this step creates a bridge between the fiber and the alum mordant. Without tannin, cellulose fibers don’t readily accept alum, resulting in pale, lackluster colors.
The Process:

Use approximately 10- 12% WOF, so for 100 grams of fabric, you’ll need 10g-12grams of tannin ( 100x.10=10g or 100x.12=12 12g). gallnut powder, tara powder, and myrobalan are popular choices, each with slightly different properties. Gallnut and tara are considered a clear tannin and doesn’t impart any color on your fabric. Myrobalan produces a pale yellow after the tannin bath. Depending on what color you are dyeing your fabric, you can choose which tannin is the best option.
There are two ways you can tannin your fabric.
Option 1: Dissolve your tannin powder in a small amount of hot water, stirring until completely dissolved. Fill your pot with enough warm water (around 100-120°F or 38-49°C) for the fabric to move freely, then add the dissolved tannin solution. Add your damp, scoured fabric to the tannin bath and let it soak for several hours or overnight.
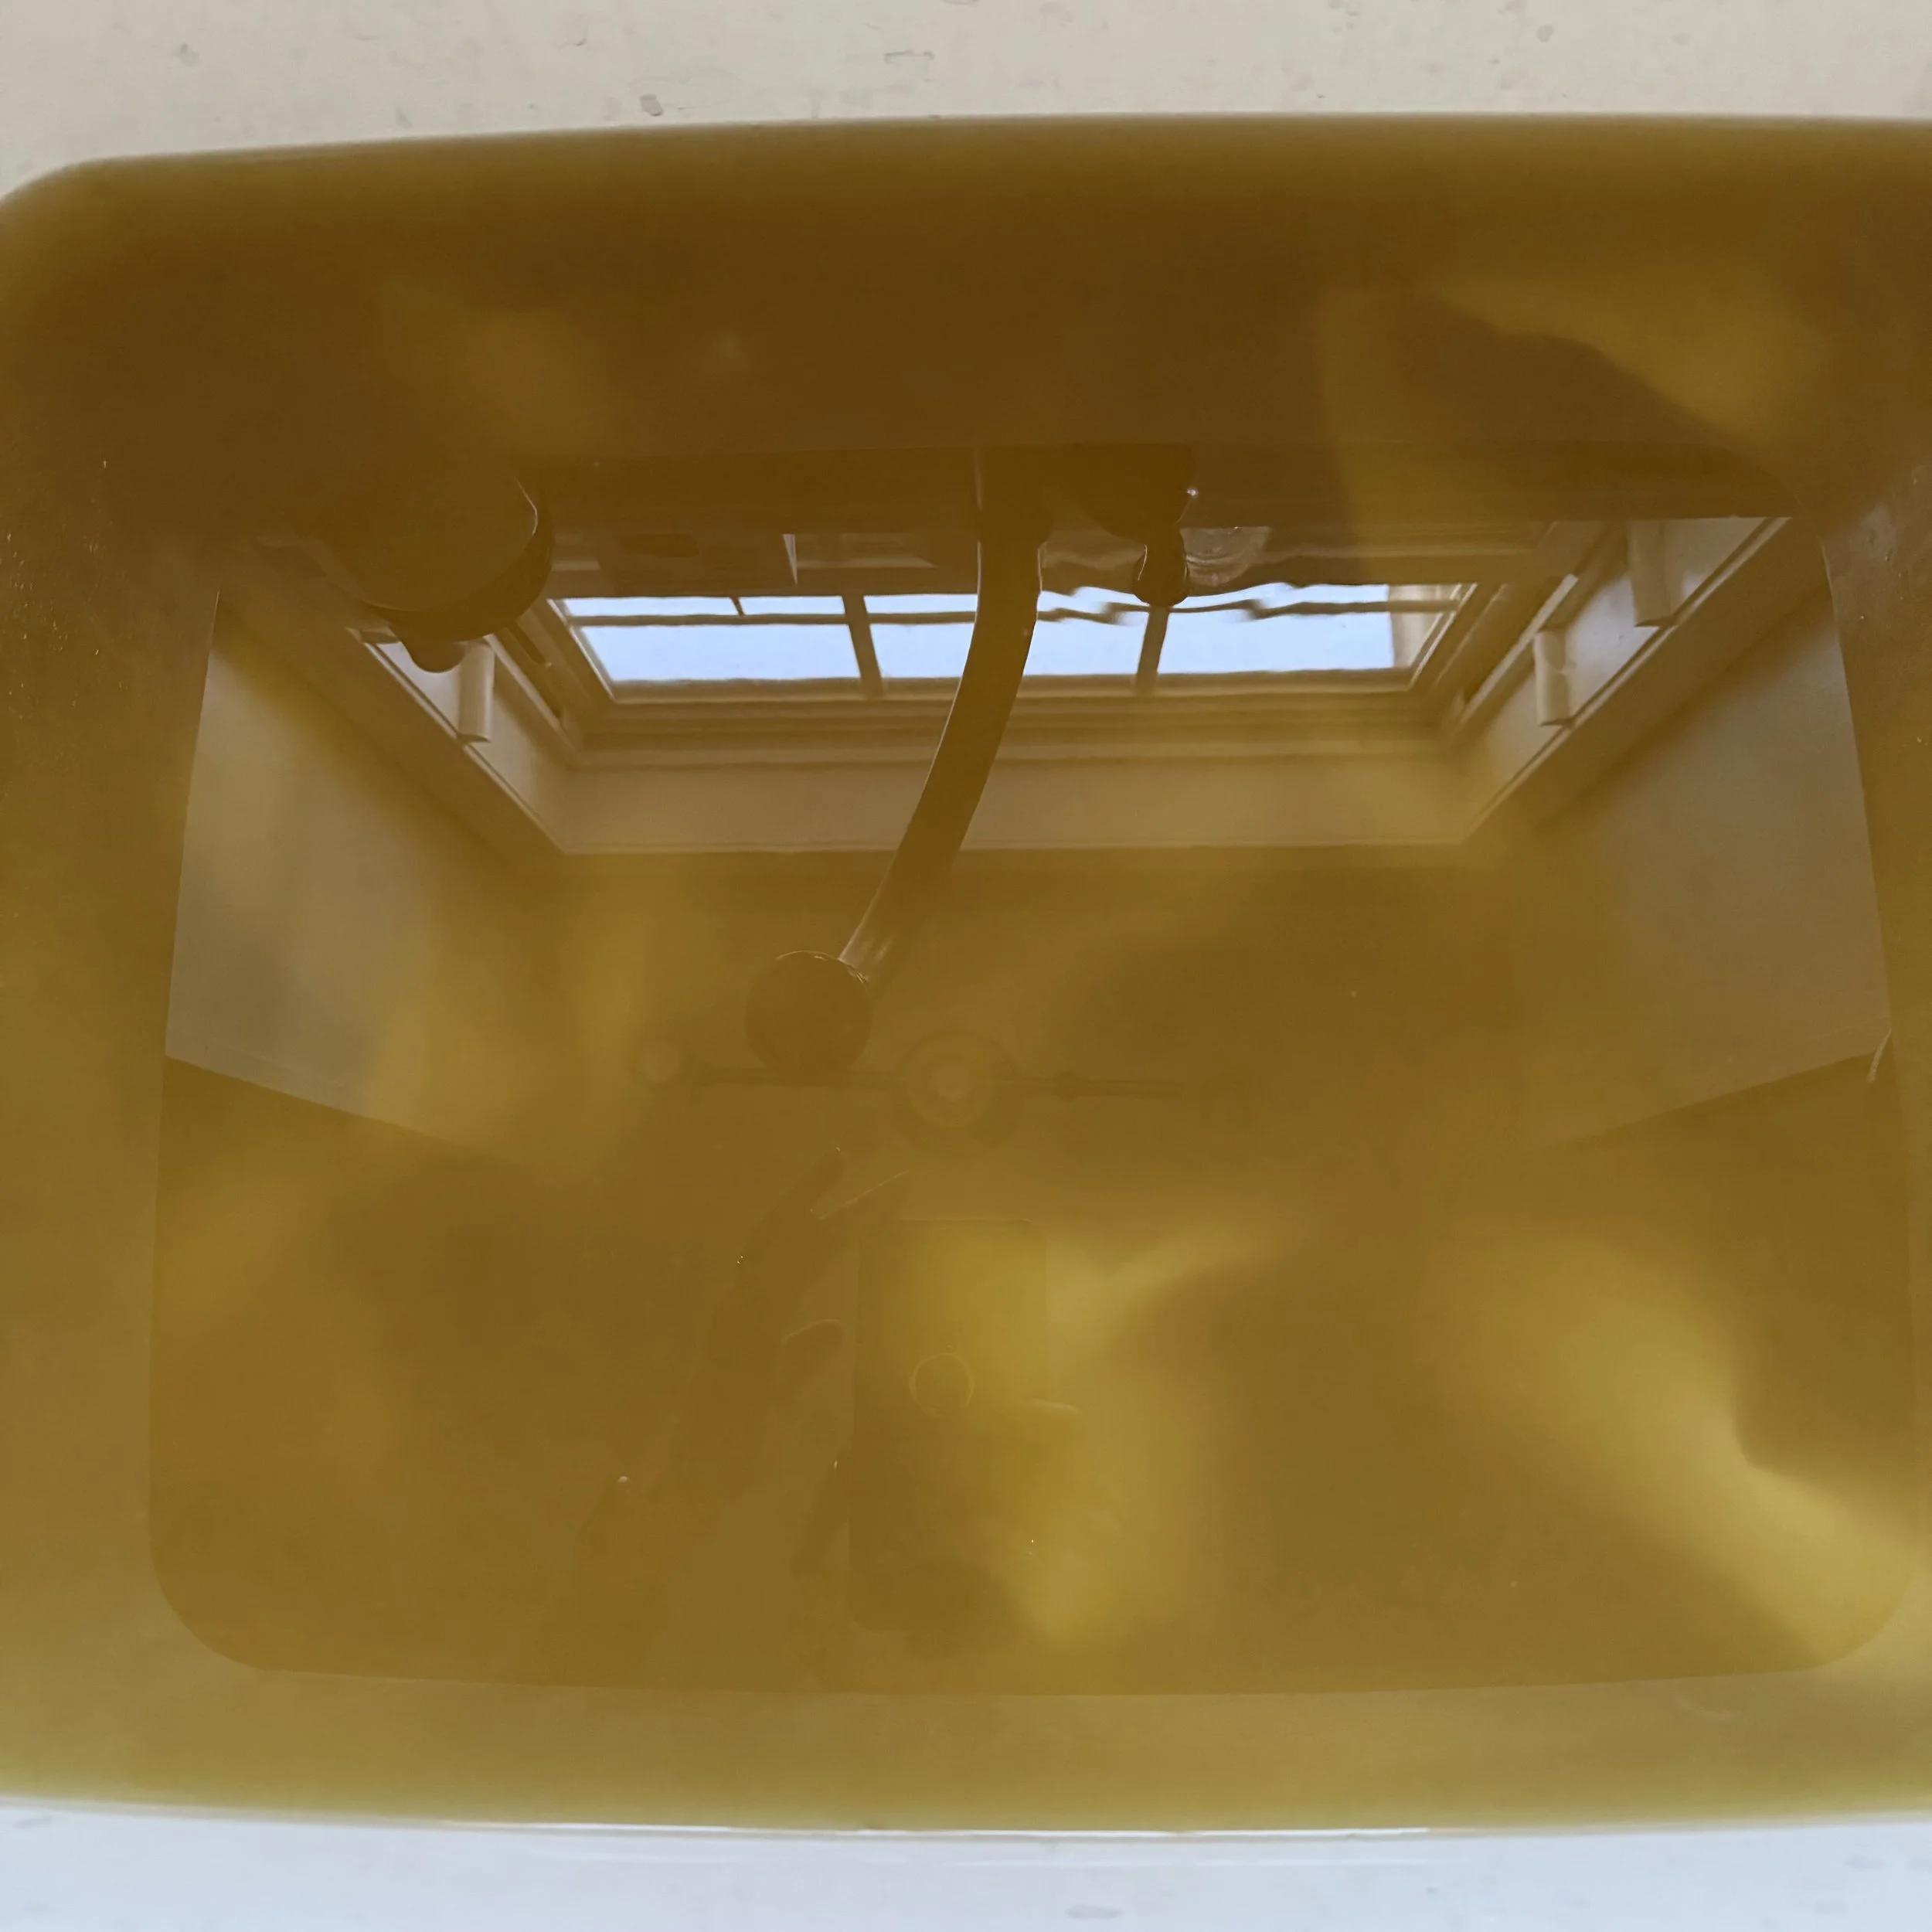
Fabric soaking in my utility sink with myrobalan tannin
Option 2: If you have a utility sink in your laundry room you can fill the sink with hot tap water and add your tannin. Stir to dissolve then add your scoured fabric. Make sure to add enough hot water to the sink for the fabric to move about easily. Allow the fabric to soak over night.
After the tannin treatment, you can either rinse the fabric lightly or proceed directly to mordanting. Many dyers prefer to let the fabric dry completely before mordanting, as this helps the tannin cure and bond more effectively with the fibers.
Step 3: Mordanting with Alum
The alum mordant works in combination with the tannin to create strong bonds between the natural dye molecules and your fabric. This final preparation step ensures your dyed colors will be vibrant and washfast.
The Process:
**For this step in the process it is critical that you wear gloves and a mask, you do not want to breath I the alum or get it on your hands.
For cellulose fibers pretreated with tannin, use approximately 15% alum based on fabric weight. For 100 grams of fabric, measure out 15 grams of potassium aluminum sulfate, 100x.15=15g
Dissolve the alum in hot water, stirring until completely dissolved. Fill your pot with warm water (around 100-120°F or 38-49°C) and add the dissolved alum solution. The water should be warm enough to help the alum work effectively but not so hot that it shocks the fabric.
Add your tannin-treated fabric (either damp or dry) to the alum bath. Heat gently and maintain the temperature for about an hour, stirring occasionally to ensure even mordanting. Some dyers prefer to let the fabric soak in the alum bath overnight after heating.
After mordanting, you can rinse the fabric lightly, though many dyers prefer to proceed directly to dyeing while the fabric is still damp. If you’re not dyeing immediately, let the fabric dry and store it away from direct sunlight. Mordanted fabric can be stored for several months before dyeing.

Fabric prepared with myrobalan tannin and mordanted. The myrobalan imparts a pale buttery yellow color that works great as a base color when you want to dye fabric yellow, orange or red or as an under color to use with indigo to create teal.
Tips for Success
Temperature Matters: Avoid boiling during any of these steps, as excessive heat can damage cellulose fibers and cause uneven results.
Water Quality: Use soft water if possible, as hard water minerals can interfere with the mordanting process.
Keep Records: I honestly can’t emphasize this point enough, there is nothing worse than creating a beautifully dyed piece of fabric that you want to replicate but cannot remember the tannin or process your followed. Document the amounts of materials you use and the results you achieve. This helps you replicate successful outcomes. I keep a journal with fabric swatches of my results with the details of each step in the process.
Plan Ahead: While these steps require time, much of it is passive soaking or simmering. You can prepare multiple pieces of fabric in batches.
Safety First: Work in a well-ventilated area and use dedicated dyeing equipment that won’t be used for food preparation.
Ready to Dye
Once you’ve completed all three steps, your cellulose fabric is fully prepared to accept natural dyes. The preparation process may seem lengthy, but it makes an enormous difference in the final results. Properly prepared fabric will produce rich, even colors that remain beautiful through many washings.
The combination of scouring, tannin treatment, and alum mordanting creates the optimal foundation for natural dyeing on cellulose fibers. With your fabric properly prepared, you’re ready to explore the wonderful world of natural dyes, from the sunny yellows of goldenrod to the deep blues of indigo and everything in between.
Happy dyeing!